Home > Blog > How to Melt HD Lace
How to Melt an HD Lace Frontal or Closure
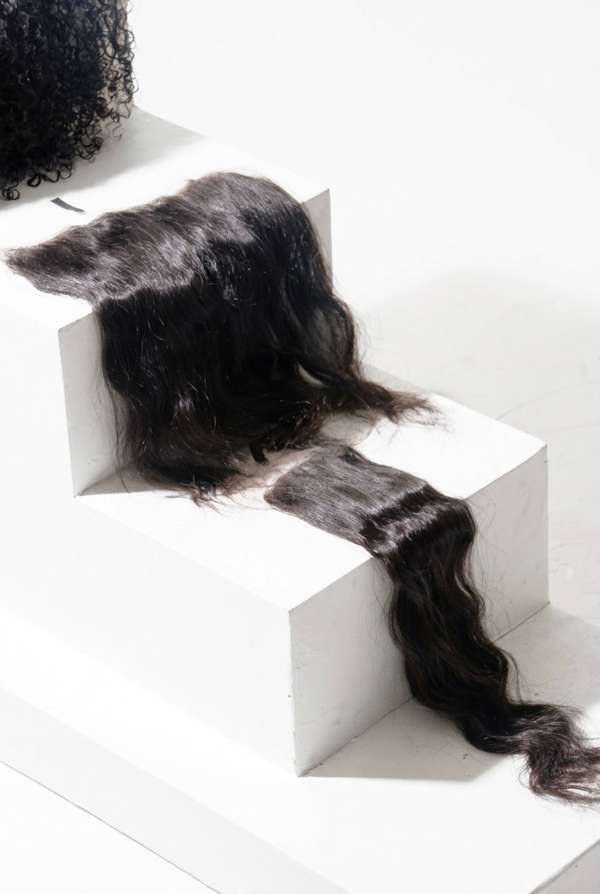
HD lace melts better than thicker lace because it is thinner and more transparent, but it still needs the right prep. The melt is in the steps, not in one magic product.
Prep the lace
Start with clean skin and a clean lace. If the lace is lighter or darker than your skin, tint it lightly to match, and let it dry fully before you lay it. A wet or unevenly tinted lace is the most common reason a melt looks patchy.
Lay it in sections
Apply a thin, even layer of adhesive or gel along the hairline, let it get tacky, then press the lace down in small sections, not all at once. Work from the centre outwards, so air does not get trapped under the lace and form bubbles.
Dry, then style
Use a cool or low dryer setting, or a melt band, to set the lace, and do not pull or brush the hairline while it is setting. Once it is dry, style the baby hairs lightly and check the hairline in natural light, not just under a ring light. If you can see a hard line, the lace was laid too thick, not too thin.
Closure or frontal?
The same steps work for a 2x6 or 5x5 closure and a 13x6 frontal, but a frontal needs more care because it covers the whole front hairline, ear to ear. If you are new to lace, a closure is easier to melt and maintain. If you want to pull your hair back or part it anywhere, a frontal is worth the extra work.
Shop Straight, Wavy, Curly, HD Lace Closures and HD Lace Frontals at MK's Hair Bar, all listed as in stock.